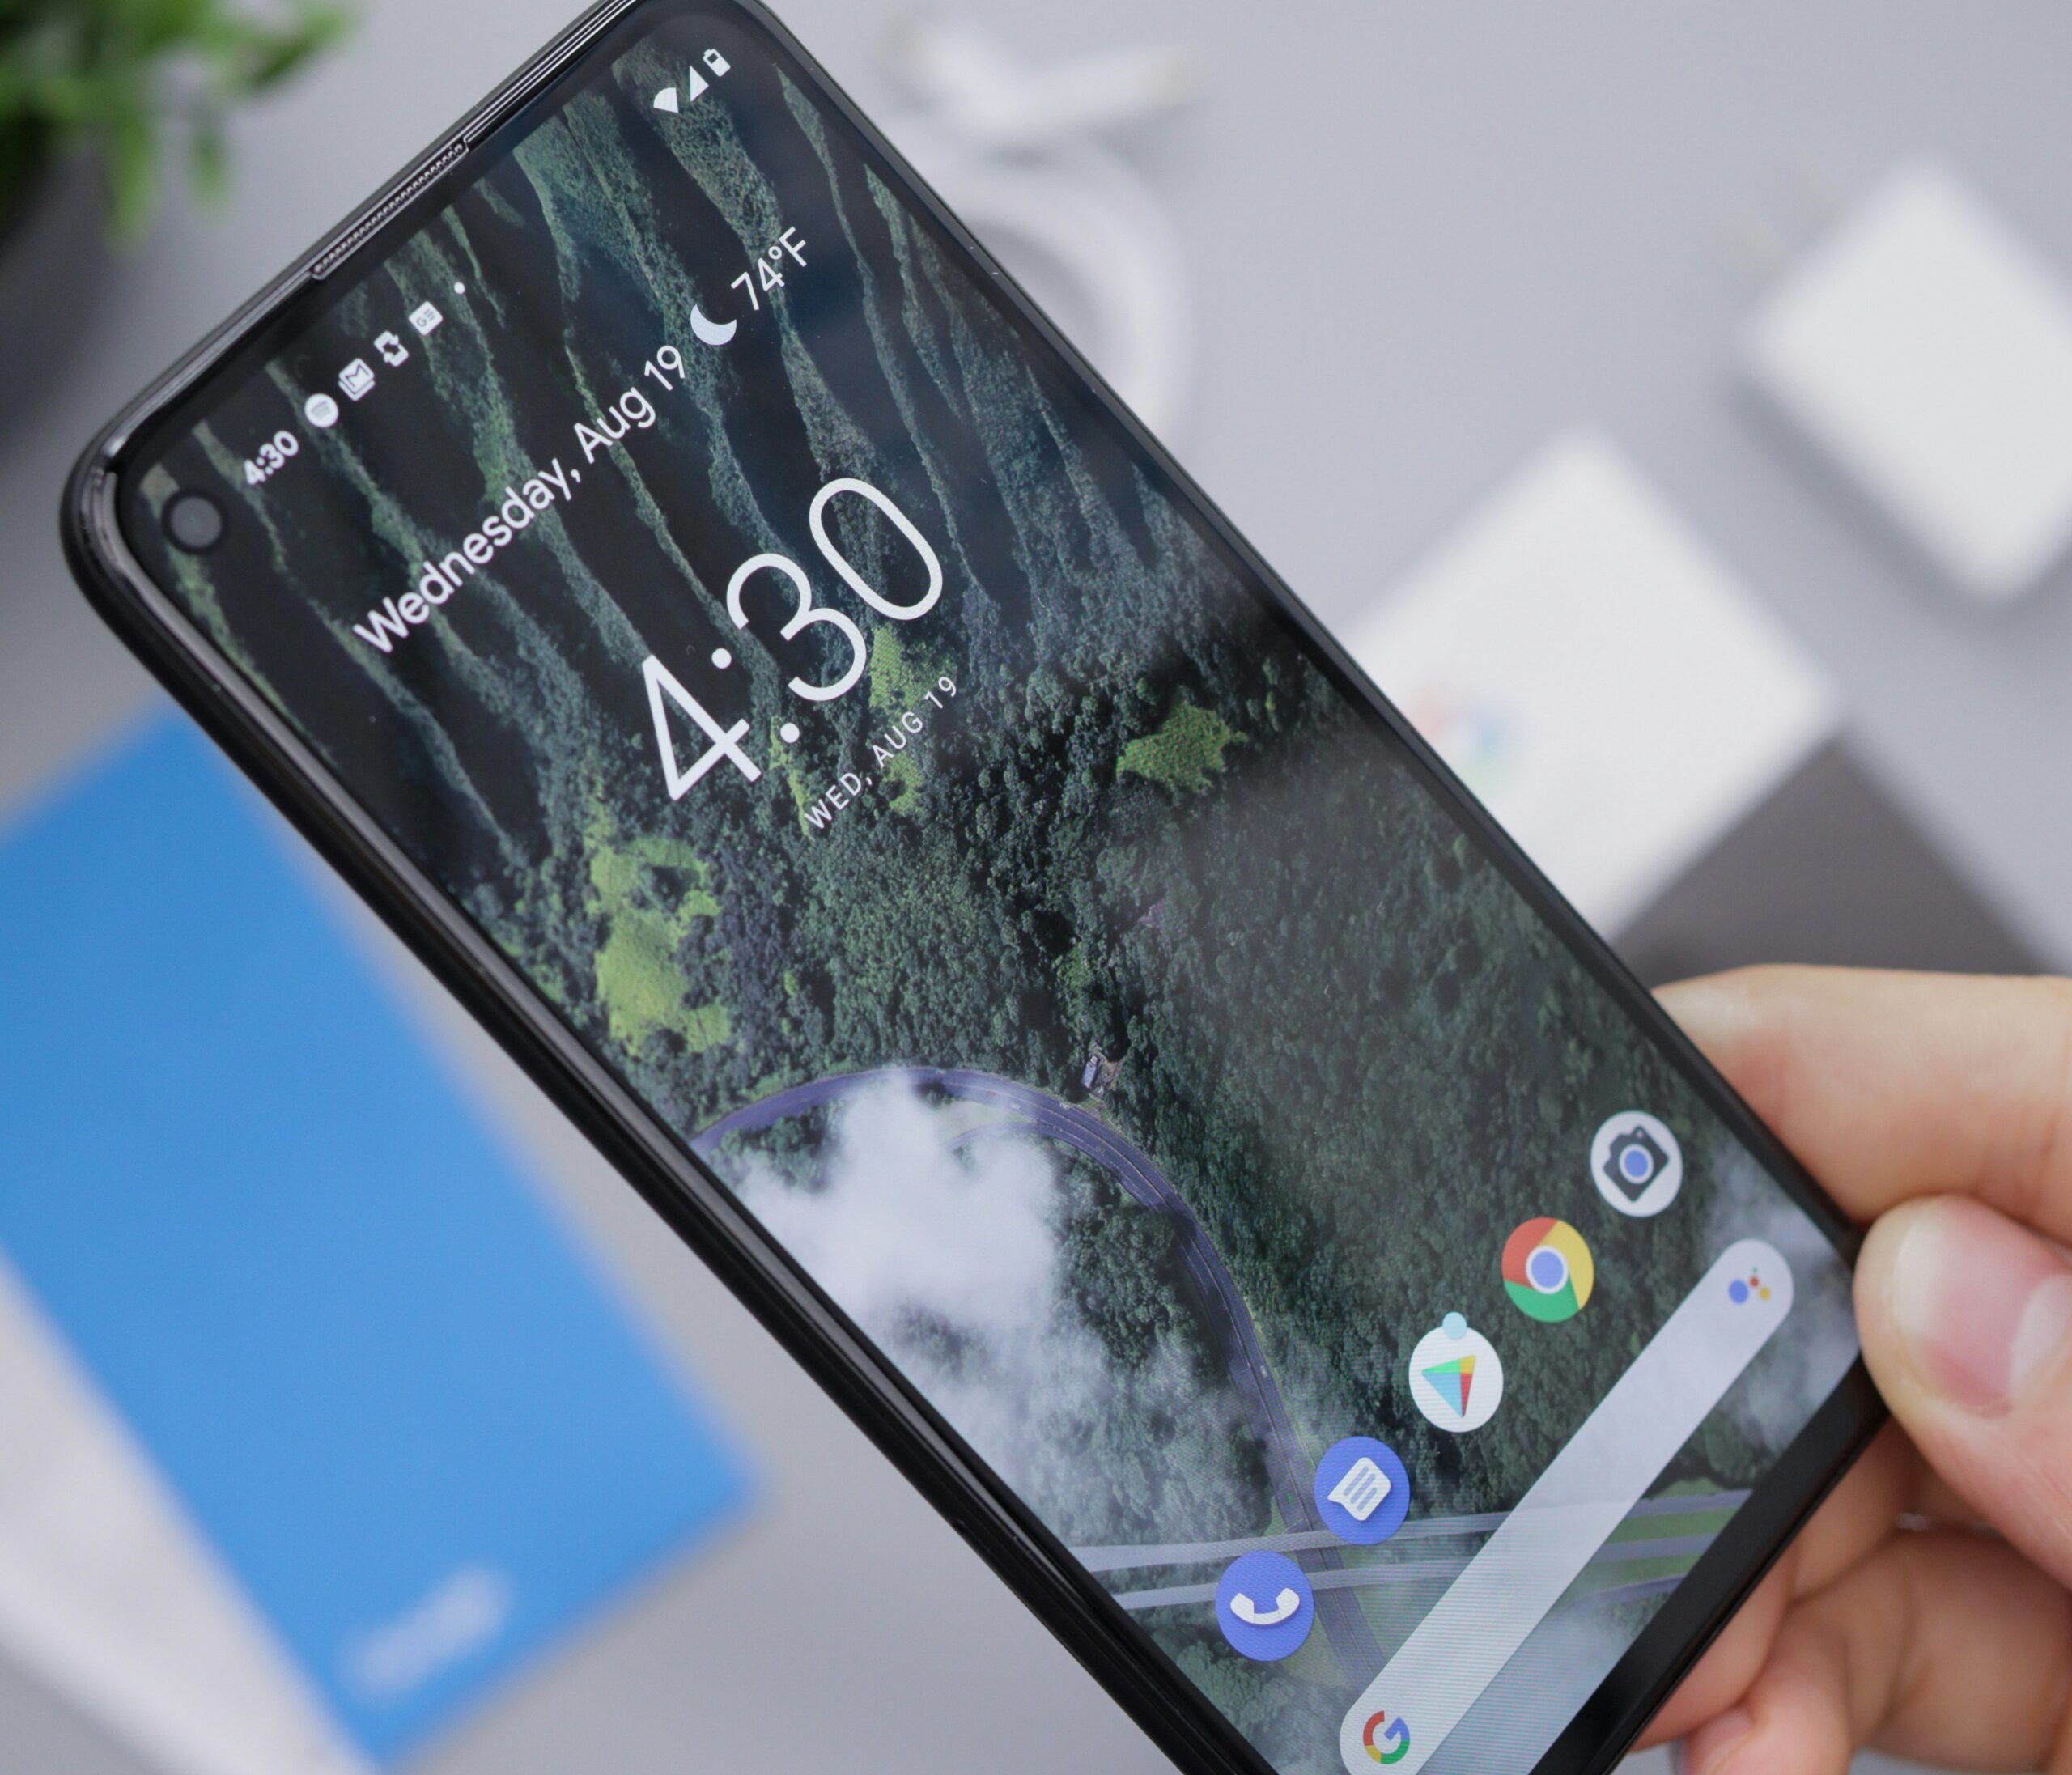
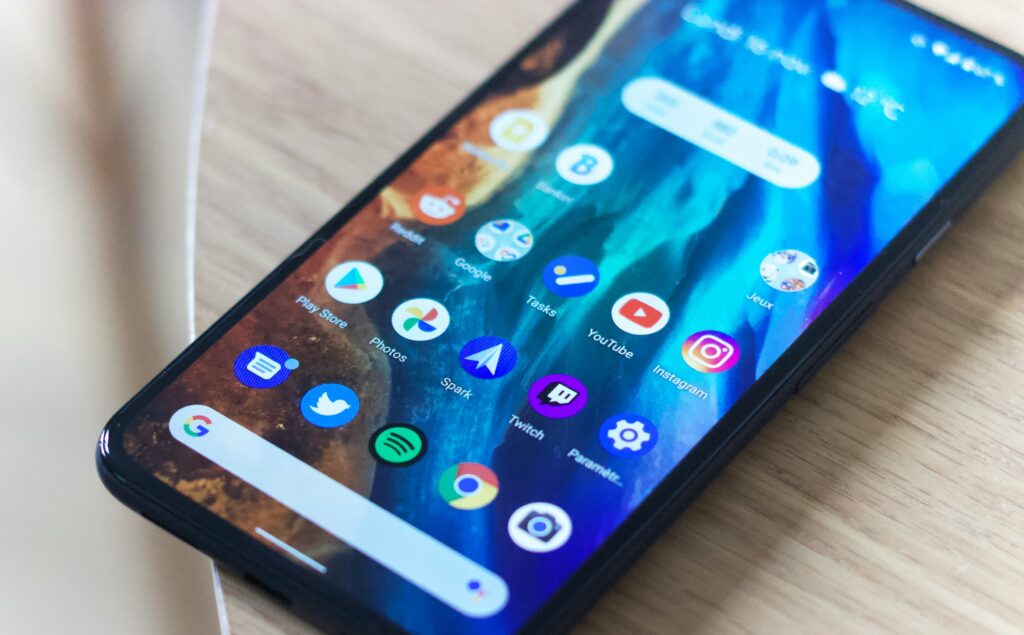
Just Got a New Android Phone ? Here’s How Real People Set It Up (Without Losing Their Minds)
So… you’ve finally unboxed that brand-new Android phone. Shiny. Smooth. Full of promise. But let me guess—you powered it on, and now it’s throwing prompts at you like you’re in a high-stakes tech quiz?
Relax. I’ve been there (more times than I care to admit), and I’ve helped everyone from my dad to my extremely non-techy roommate get through this. So this isn’t one of those boring, robotic “click here, do that” guides. Think of this as the honest setup guide I wish someone had handed me the first time I switched phones and almost lost 4 years of WhatsApp chats.
Things You Need Before Setting Up Your New Phone
Let’s get the boring checklist out of the way. You’re gonna need:
- Your old phone (unless it’s at the bottom of a lake… in which case, skip the data part)
- Your SIM card (or eSIM info if you’re living in the future)
- Your Wi-Fi login (seriously, why is that always scribbled on a post-it under the router?)
- Your Google account info (email + password)
- A USB-C cable (totally optional, but it’ll save you time if you’re transferring a ton of stuff)
Don’t have all of these? No worries—you can still move forward. But if you do have them, you’ll thank yourself later.
Table of Contents
Step 1: How to Back Up Your Old Phone Before Switching to Android

Let me tell you a quick story. My cousin, Nadia, once wiped her old phone before checking her backup. She lost every single text from her boyfriend. The drama was unreal.
Don’t be Nadia. Here’s how to do it right:
How to Back Up Your Data on an Old Android Phone
- Pixel people: Go to Settings > System > Backup, then tap Back up now. Easy.
- Samsung fam: Head to Settings > Accounts and Backup > Backup and Restore. Hit that backup button and let it work its magic.
WhatsApp crew—open the app, go to Settings > Chats > Chat Backup, and hit “Back Up Now.” Yes, right now. Do it.
How to Switch from iPhone to new Android phone Without Losing Data
- Turn off iMessage and FaceTime. Go to Settings > Messages and FaceTime and toggle ’em off. Trust me, if you skip this, you might stop getting texts entirely and think everyone’s ghosting you.
- Download Google Drive on your iPhone. Inside it, go to Settings > Backup. You can choose what you want to save—contacts, calendar, photos, whatever.
- Google Photos is your new best friend. Install it, back up your photos, and breathe easier knowing your beach selfies are safe.
Step 2: Initial Setup Guide for Your New Android Phone
Okay, moment of truth. Let’s bring this baby to life.
- Pop in your SIM card (or do the eSIM setup thing if your carrier supports it).
- Turn it on and follow the on-screen steps. They’re actually not too scary.
- Connect to Wi-Fi—skip this and you’ll be stuck in update hell.
- Log in with your Google account. You can technically skip this, but then you’re basically just holding a fancy calculator.
Best Ways to Transfer Data to Your New Android Phone
- Cable Transfer (A+ for speed): Connect your old and new phones with a USB-C cable. This is the method I used when I switched from a crusty old Moto G to my Pixel 7, and it was surprisingly painless.
- Wireless Transfer: Use Wi-Fi to beam over your contacts, apps, and photos. It’s not as fast, but hey—it works.
- Restore from Google Backup: If you’ve done your backups right, your phone will ask if you want to bring your old stuff over. Say yes.
⚡ Tip: Transferring via cable is way more reliable. Don’t trust sketchy Wi-Fi if you’ve got 40GB of cat photos.
Step 3: Secure and Personalize Your New Android Device
Here’s where things get personal.
How to Set Up Android Security Features (PIN, Fingerprint, Face Unlock)
- Set up Fingerprint or Face Unlock: Head to Settings > Security > Biometrics. Easy.
- Pick a good PIN or pattern. No, “1234” doesn’t count.
- Enable Find My Device. I once lost my phone in the couch cushions for 2 days—this helped.
How to Customize Your new Android Phone Look and Feel
- Want gesture navigation or old-school buttons? Choose your style.
- Customize your wallpaper, theme, and icon pack (Nova Launcher fans, this is your moment).
- Say, “Hey Google” to train the Assistant. It feels silly at first, but it’s honestly useful when your hands are full of groceries.
Step 4: How to Update Android System and Apps for Better Performance
Yes, updates are boring. But they’re also the reason your phone doesn’t crash every time you open Instagram.
- System updates: Go to Settings > System > Software Update. Hit that download button.
- App updates: Open the Play Store, tap your profile, then Manage Apps > Update All.
You don’t want to be running 6-month-old software with a bunch of bugs and security holes. Been there. It sucks.

Step 5: Add Your Favorite Apps and Accounts to Android
Chances are, you’ve got more than just a Google account.
- Head to Settings > Accounts > Add Account
- Sign in to your email, Dropbox, Slack, Spotify, Discord… whatever runs your life these days.
This is where the new android phone really starts to feel like yours. Like, your weird, wonderful, overly online self now lives in this little rectangle.
Step 6: Common Android Setup Mistakes to Avoid
These are the mess-ups I’ve either made personally or helped someone clean up. Don’t be like us:
- ❌ Skipping backups, then realizing all your stuff is gone.
- ❌ Forgetting to disable iMessage—especially if your group chat lives on iPhones.
- ❌ Ignoring updates and wondering why your battery dies after 4 hours.
Pro Tips to Maximize Your Android Phone from Day One
- ✔ Turn on Google Photos’ “Free Up Space”—it clears stuff you’ve already backed up.
- ✔ Set up Digital Wellbeing. You’ll be shocked at how much time you spend on TikTok (or maybe you won’t… but now you’ll know).
iMessage Problem When Switching to Android (And How to Fix It)
Remember John? (I don’t either, but let’s pretend.)
John switched from iPhone to new Android phone last summer and completely forgot to disable iMessage. For a week, he thought nobody liked him anymore—no texts, no updates from the group chat. He almost threw his new phone in the trash.
Eventually, he stumbled on a random Reddit post explaining the issue, turned off iMessage, and bam—texts started flooding in.
Moral of the story? Apple doesn’t make it easy to leave, but you can outsmart ‘em.
Final Steps After Android Setup: Enjoy Your New Phone
If you made it this far, congrats—your new Android phone is set up, secured, and totally you. Now you can get back to the fun stuff: installing apps you’ll never use, customizing widgets, and pretending you’re gonna check your screen time every day (you won’t).
FAQ: Setting Up Your New Android Phone
Q: What should I have ready before setup?
Old phone, SIM or eSIM info, Wi-Fi password, Google login, and maybe a USB-C cable. That’s it.
Q: How do I switch from iPhone without losing data?
Turn off iMessage + FaceTime. Use Google Drive + Google Photos. Otherwise… say goodbye to your texts.
Q: What’s the fastest way to move my stuff?
USB-C cable transfer = fast and reliable. Wireless works too, but it’s slower.
Q: How do I lock down my new phone?
Set up fingerprint/face unlock, pick a strong PIN (not “1234”), and turn on Find My Device.
Q: Do I need to update everything?
YES. System and apps. Do it now, thank yourself later.
Q: What accounts should I add?
Google, email, Spotify, Discord, food delivery… whatever runs your life.
Q: What mistakes should I avoid while setting up new android phone ?
❌ Skipping backups
❌ Forgetting to disable iMessage
❌ Ignoring updates
Q: Any pro tips?
✔ Google Photos → “Free Up Space”
✔ Digital Wellbeing = screen time reality check
✔ Use widgets—they’re actually useful
Q: Done with setup—now what?
Celebrate. Customized new android phone . Pretend you’ll check your screen time weekly. You crushed it.