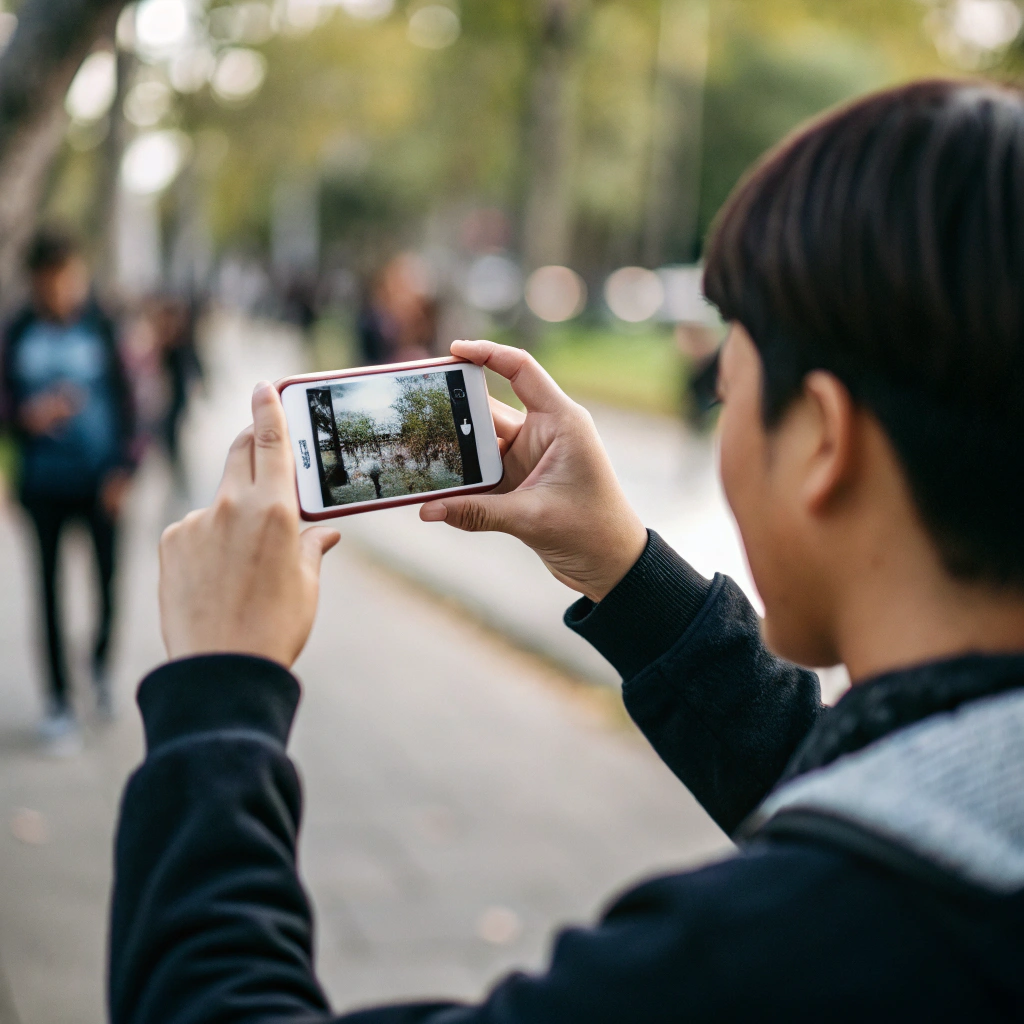
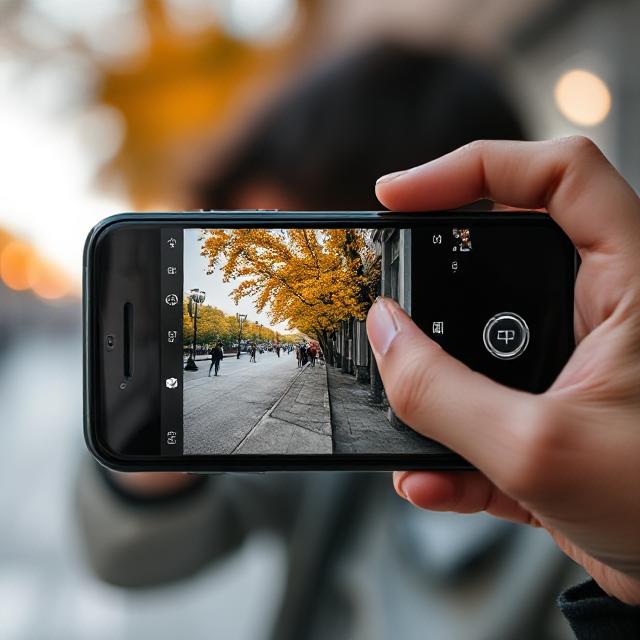
Okay, let’s be real for a sec—most of us have these incredible cameras in our pockets, but we’re still snapping pics that look like they were taken in a rush with a potato. Sound familiar?
Whether you’re a beginner or a pro, these mobile photos tips will help you elevate your photography game.
It doesn’t matter if you’ve got the latest iPhone 15 Pro Max, a shiny Samsung Galaxy Ultra, or just a mid-range Android—your phone can take stunning, pro-quality mobile photos. The problem? Most of us never learn how to actually use all the magic tucked into those tiny lenses.
So here’s the good stuff—15 super practical, real-world tips I’ve picked up from both my own trial-and-error and a few photography-obsessed friends (you know who you are). These aren’t vague “just find good lighting” kinds of tips—these are the ones that actually change the game.

Mobile Photos: Tips For Great Photography
Table of Contents
1. Clean Your Lens
I once took two hours of sunset shots in Santorini, only to get back to the hotel and realize… every single mobile photo had a weird haze. Why? Finger smudge.
Always wipe your camera lens with a soft cloth (microfiber’s best, but even your t-shirt’s better than nothing). That little smear you don’t see? It’s the #1 reason your photos look “foggy.”
2. Turn on Gridlines & Stop Centering Everything
You ever scroll through your mobile photos and think… why does every shot feel kinda flat? That’s because we all default to putting the subject smack in the middle.
Go into your camera settings and turn on the 3×3 grid. Use those lines to position your subject off-center (hello, rule of thirds). It makes everything look way more professional with zero effort.
3. Never Ever Use Digital Zoom
Unless you enjoy pixelated disappointment.
Zooming in with your fingers is just cropping before you’ve even taken the photo. If you can, move closer. Got a telephoto lens? Use that instead. Otherwise, shoot wide and crop after. Your future self will thank you.
4. Tap to Focus
Your phone’s autofocus isn’t a mind-reader (yet). If you want sharp focus on your dog’s face, not the bush behind him, tap on the screen before you snap. Many phones even let you lock the focus—total lifesaver for moving subjects.

5. Adjust Exposure Manually
Lighting too harsh? Sky totally blown out? Tap and hold to focus, then drag the little sun icon or slider up or down to fix the exposure. It’s like dimming a room before a dinner date—instant mood improvement.
6. Use HDR for Tricky Lighting
HDR (High Dynamic Range) is awesome for tricky lighting—like sunsets or dramatic shadows. It combines multiple exposures for one balanced shot. But heads up: if your subject is moving (like your toddler on a sugar high), HDR can get weird and ghosty.
7. Keep ISO Low Unless You’re Desperate
ISO controls your camera’s light sensitivity. The higher it goes, the brighter the shot—but also the grainier. So in daylight, keep it low (like 100 or 200) for taking mobile photos. Only crank it up in low light when you don’t have other options.
8. Control Shutter Speed
Want to freeze your friend mid-backflip at the beach? Go for a super fast shutter speed. Want silky-smooth waterfall shots or epic nighttime light trails? Slow it down. Just grab a tripod—or balance your phone on a rock—and keep it steady.
9. Set White Balance
Cool tones feel crisp and modern. Warm tones give you that cozy, golden-hour glow. Auto white balance works okay, but sometimes it gets confused—especially in mixed lighting. Manually tweak it to match the vibe you’re going for.
10. Try Portrait Mode for mobile photo
I once used Portrait Mode on a cupcake. No regrets.
It works wonders for isolating any subject—your dog, a coffee cup, your cousin who won’t stop posing. Just make sure there’s decent lighting and a little space between the subject and the background. Boom: fake DSLR blur.
11. Use Night Mode for Dark Scenes
Night mode stacks several images together to brighten dark scenes. It’s amazing, but you have to hold still—or prop your phone against something. Bonus: turn off nearby lights for a more even effect.
12. Use Burst Mode for Action Shots
Hold down the shutter button and your phone goes full paparazzi mode. This is your best friend for sports, parties, kids, pets—any moment where stuff is flying everywhere and you just need one solid frame.
13. Play with Angles
Most people shoot everything at chest level. Boring.
Try crouching down low, shooting from above, or even tilting your phone. Change your angle, and you’ll see the world (and your photos) in a whole new way. I once laid on the ground to shoot my sneakers on a rainy sidewalk—ended up looking like an album cover.
14. Edit Your mobile Photos
You don’t need to be a Photoshop wizard. Apps like Snapseed, Lightroom Mobile, and VSCO make it crazy easy to tweak your mobile photos. Just don’t go full filter mode—subtle changes to brightness, contrast, and warmth usually do the trick.
Pro tip: Shoot in RAW (if your phone allows) for more editing flexibility without killing quality.
15. Try Accessories That Actually Help
Not all gear is a gimmick. A small tripod (like a Joby GorillaPod) is amazing for long exposure shots. Clip-on lenses can give you wide-angle or macro shots without breaking the bank. If you shoot video, an external mic makes a massive difference—no more wind tunnel sound.
